Geomagic Control X 3D Automated Inspection Software
アドオンを選択
Couldn't load pickup availability
Geomagic Control X 3D Automated Inspection Software

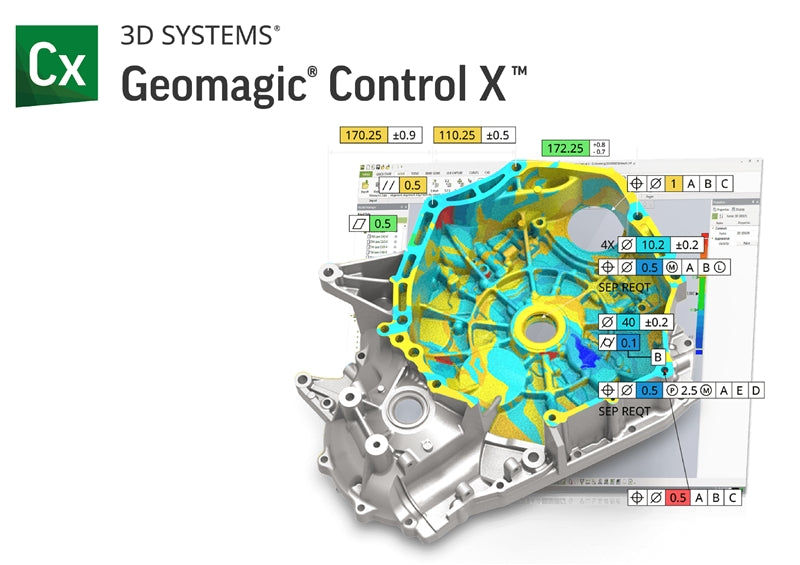
Geomagic ControlX is the industry's most comprehensive, powerful, and accurate automated platform for reverse engineering software, 3D inspection software, and 3D scanning data processing solutions.
For measurement and quality verification processes, Geomagic ControlX utilizes a wide range of metrology tools, such as hard probes and non-contact scanning, to acquire data, enabling manufacturers to significantly save time and improve accuracy, while also easily automating complex tasks. Geometric tolerance, hard measurement, and orientation checking functions accelerate part measurement and improve its accuracy, and Geomagic ControlX can also intelligently generate 3D PDF reports.
The Geomagic ControlX automation platform offers simplification for virtually every process, reducing manpower and measurement time in measurement and recording, and significantly enhancing R&R results. Geomagic ControlX users can substantially reduce production line downtime, improve accuracy, and enhance part quality during and after manufacturing.
Software Features
● Disrupt existing testing procedures
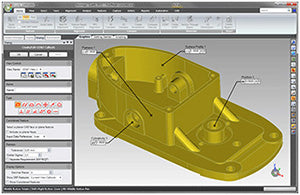
Geomagic Control X features a brand-new user interface, offering a wealth of innovative measurement and inspection tools, workflow-driven planning processes, and step-by-step inspection implementation.
Creates unparalleled, comprehensive 3D inspection capabilities, is easy to operate, and applicable to all manufacturing workflows. Enables more precise measurement and rapid analysis of manufactured parts and assemblies.
To ensure superior product quality.
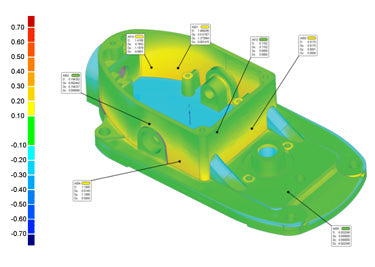
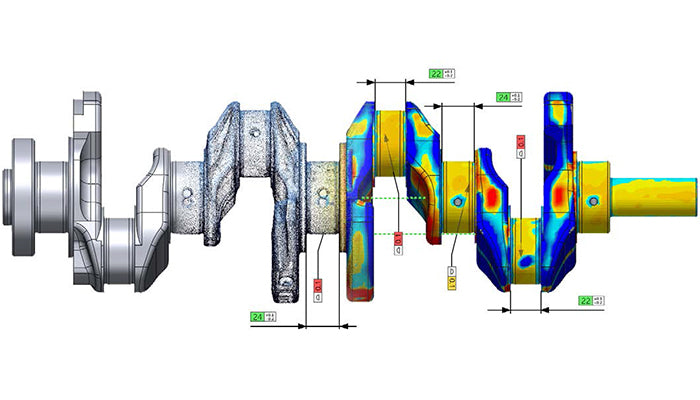
● Suitable for point clouds and exploration <br>Smoothly processes point cloud data acquired by any 3D scanning device. Geomagic Control X automatically generates easily interpretable deviation color maps using rich data and automatically performs detailed analysis of your products. It also supports a variety of measurement devices, allowing you to integrate multiple measurement techniques to obtain optimal measurement results.
● Seamless integration with CAD drawings
Geomagic Control X imports raw files from mainstream CAD systems (including SolidWorks®, CATIA®, Siemens NX®, and...).
Pro/ENGI-NEER® (now Creo).
With this direct input function, your GD&T geometric tolerances and CAD datum features can be imported together, making analysis and inspection easier. You can also instantly compare scanned data with its original design data online to generate conformity reports to ensure quality at all times.
● Powerful GD&T features
Geomagic Control X offers a full range of intuitive measurement, dimensionaling, and tolerance tools. Whether you need to automatically detect geometry, use instant deviation tools, or iteratively calculate alignments, you'll find a holistic, comprehensive solution within it.
● New and powerful reporting features
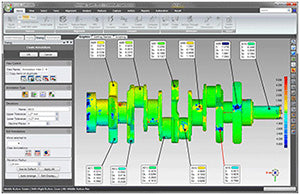
Geomagic Control X's powerful new reporting capabilities automatically generate clear, multi-chart reports. A results-oriented workflow allows you to focus on project setup and communication needs with stakeholders, without spending excessive time refining the measurement process. Customizable viewpoint controls and viewstyle reports bring reports closer to the presentation of traditional printed or PDF graphics.
● Faster and more reliable automated inspection <br>Utilize the automation capabilities of the Python programming language to customize environmental variables and inspection processes to meet company needs. In a custom template environment, leverage a multi-functional command line, including direct input of CAD models, creation of inspection reports, and processing of point cloud and mesh data.
● Quick Deployment <br>Whether you're using contact or contactless scanners, the most important thing is to make the most of them during use. You can use Python programming language features to automate the scanning process.
Workflow
- Inputs: Direct integration of scanning equipment, pre-defined detection paths, mobile and portable detection tools, automated scanning.
- Inspection process: CAD-based measurement and GD (dimensional and tolerance) data, root cause analysis and tracing, multiple result analysis, simultaneous inspection, workflow-based inspection.
- The process of testing Cheng
- Output Reports: Reports from different perspectives, with customizable report layouts.


