


[3D Printing Applications] Make your own soap with 3D printing! Come to the exhibition and get one for free! It even comes with a 3D printed soap box!
Today we'd like to share our latest product – custom soap made using 3D printing ! See below for how to get it for free!
The well-known 3D Printing Exhibition is coming soon! We will be meeting everyone at booth I402 on the first floor of Hall 1, Nangang Exhibition Center from August 29 (Wed) to September 1 (Sat) next week!
Not only will there be many exhibits showcasing the latest technologies, but you can also pick up some practical and exquisite 3D printed gifts!
Let's uncover how this exquisite handmade soap is produced using 3D printing :
First, we use 3D printing to create the base mold for the soap. These colorful samples are all the result of printing using PLA filament !

Second, after the sample is poured into a silicone mold, it is demolded to obtain a mold suitable for mass production. Even small triangles are clearly printed on a single model, which depends on the precision of the sample itself. Therefore, the quality of the 3D printing used initially is very important.

III. Prepare the tools for making soap: lemon essential oil, soap base, soap coloring water (for coloring), measuring cup, scale, bamboo chopsticks, and microwave oven.

4. Remove the large pieces of soap base and cut them into smaller pieces for easier heating, and weigh them according to the amount of soap to be made.

5. Place the cut and weighed small pieces of soap into the microwave and heat for about 30 seconds to 1 minute, depending on the power of your microwave. Heat until melted. If it boils excessively, many small bubbles will appear, so the heating time shouldn't be too long.


6. Next, add soap coloring water and stir quickly until the color is even. Then add essential oils. If you add essential oils first, the fragrance will dissipate, so add the coloring water first.

7. The most important step is here! Since we're creating a gradient of colors, we've already mixed the blue and green tones; now we need to pour them into the mold simultaneously! This step needs to be done in one go to look beautiful. Look how skillful our partner is!

8. Pour the soap mixture into the mold as soon as possible before it cools down, otherwise it will be difficult to pour as it gradually solidifies! The soap mixture poured into the mold will be crystal clear and very beautiful!


9. After the soap made with soap base has cooled and hardened in the refrigerator, it can be unmolded immediately! Because silicone molds are elastic, the soap can be easily removed.

10. The finished soap is crystal clear with beautiful gradient colors, making it absolutely irresistible! What's more, we'll also include a small 3D-printed soap storage box! Excited?! How can you get it for free? 
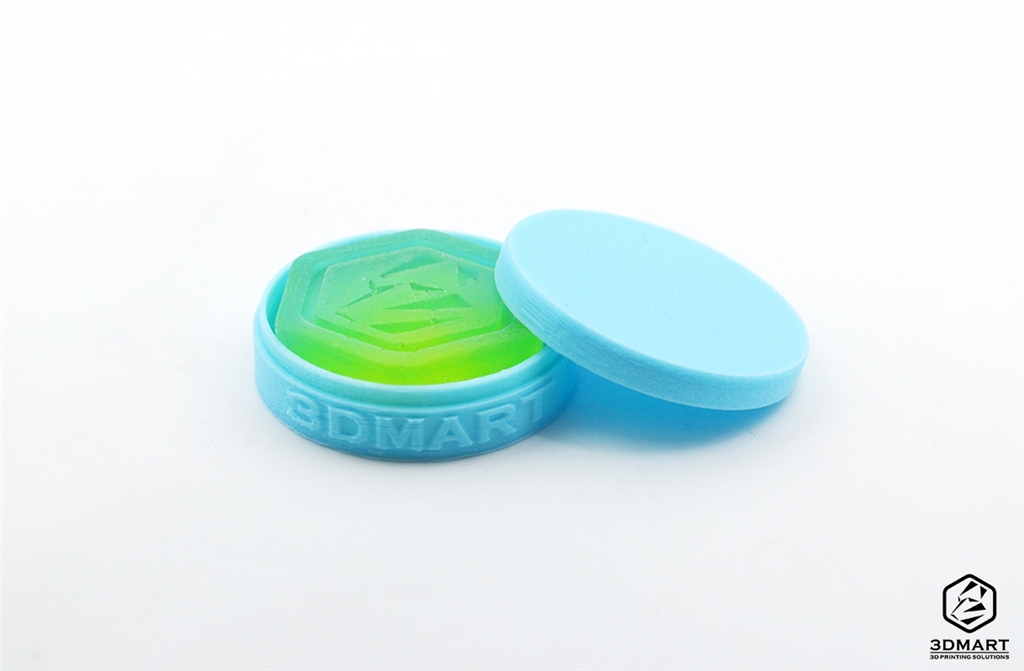

From August 29th (Wed) to September 1st (Sat), we'll be giving away freebies at booth I402 on the first floor of Hall 1 at the Nangang Exhibition Center! Limited quantities available, first come, first served!
Join our Facebook fan page to stay updated on our latest news, including announcements of other small gifts and giveaways soon! Stay tuned!
https://www.facebook.com/3dmart.com.tw/
The 3D Printing Expo is open online only, and admission is free! Visit the 3D Printing Expo and find 3DMart to win great prizes! Come join us!
https://www.chanchao.com.tw/entryApply.asp?id=3DPS2018
[3D Printing Applications] Get a sneak peek at the 3D printing x handmade soap making process! Come to the 3D printing exhibition and get yours for free!
3DMART |