


[Pressure Molding] How to Achieve Small Batch Production? Mayku Multiplier Workflow Guide
The Mayku Multiplier is touted as "the world's first desktop pressure molding machine!" Unlike traditional vacuum molding, it uses pressure to tightly adhere a plastic sheet to the mold surface, while simultaneously using a heat source to heat the plastic, softening it, and finally cooling and solidifying it. This pressure molding method can be applied to complex three-dimensional shapes, such as "cosplay models," "aircraft parts," "household appliances , " and "automotive parts."
If you are a solo studio owner, creator, artist, or someone looking for a way to create precise prototypes, molds, or parts for your final product, try Mayku Multiplier ! Make precise finished products quickly and easily accessible from your office.
(* We demonstrate the pressure molding workflow from concept to final part using the Mayku Multiplier. Note that each project is unique and may require different or additional steps.)
In this article, we will introduce the steps of using Mayku Multiplier to create a car prototype, covering "Design Techniques", "Manufacturing and Molding", and "Post-processing".
Step 1: Design a Template <br> First, you need a template that can give the molded plastic sheet a precise shape. Designers need to consider the tilt angle, as these will make the demolding process easier. The greater the tilt angle, the easier it is to remove the molded sheet from the template.
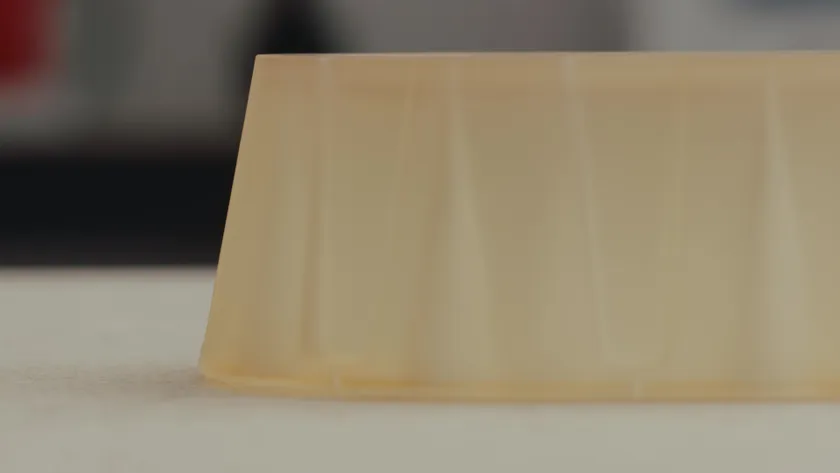
The primary principle to consider when designing for thermoforming is the tilt angle.
Grooves should be avoided because once the plastic sheet cools down, you won't be able to remove the object. However, using Mayku's soft EVA material sheets, you can create parts with small grooves.
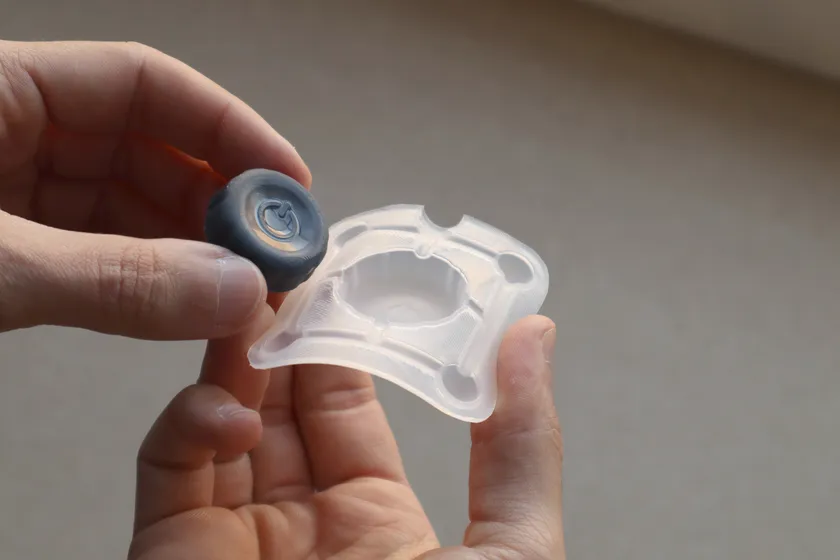
On the Mayku Multiplier, a flexible mold made using EVA material sheets.
For non-porous templates, it is recommended to design air holes to allow air to escape as the material sheet forms within the internal space, without trapping any air inside.
Inspect thermoforming template
Step 2: Creating a template
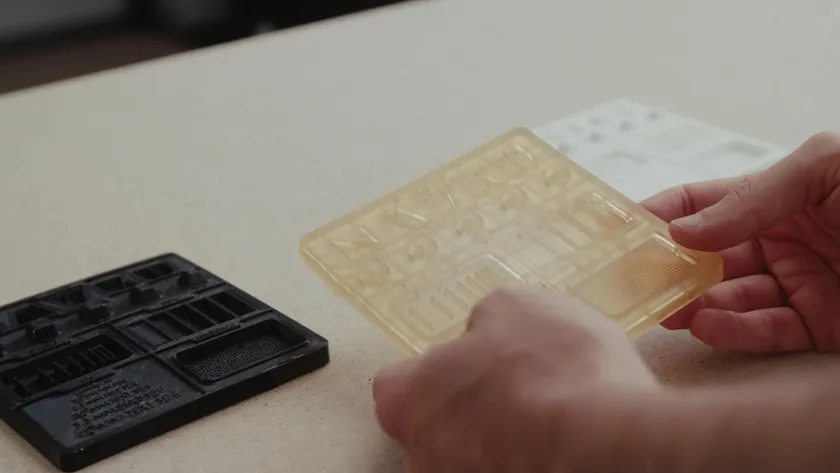
Congratulations on completing the template design! The next step is template manufacturing. You can use various technologies to manufacture templates, including CNC milling machines and laser engraving/cutting machines . When manufacturing the template, ensure it has high-temperature resistance and strength, as it needs to withstand the pressure molding process. In this case, we used high-temperature resin to make the template.

Thermoforming templates made from high-temperature resin using SLA photopolymerization 3D printing
Step 3: Select materials
Once the template is ready, select the material to be molded. Mayku offers a range of expanded materials, all of which are tested to ensure a smooth molding process.
Material sheets for Mayku Multiplier
Some materials (such as PETG) have a protective film, so be sure to remove the protective film before putting the material into the machine.
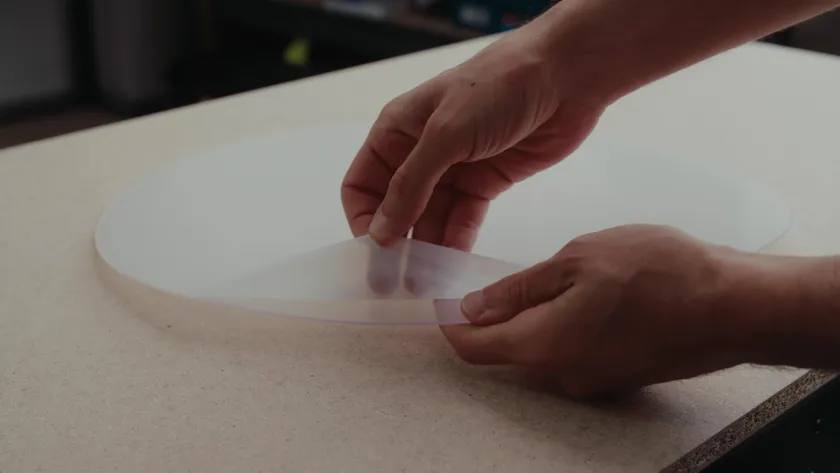
Remove the protective film from the PETG material sheet.
In this case study, we will use a 4mm ABS platform, which has high hardness, excellent impact resistance and chemical resistance.
Place the 4mm ABS platform into the Mayku Multiplier.
Step 4: Molding process
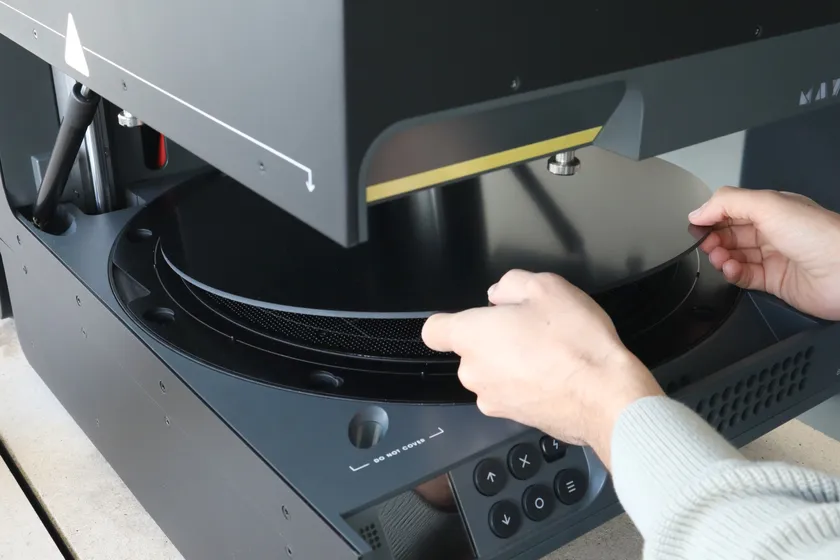
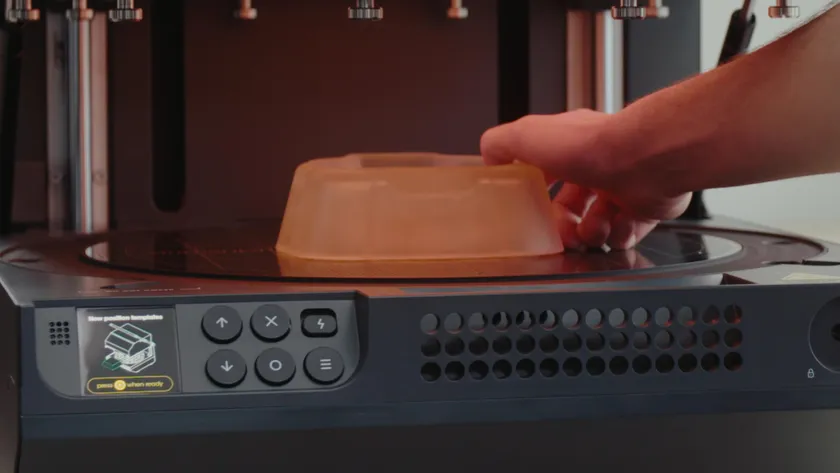
Now it's time to use the Mayku Multiplier for molding. Open the machine cover and place the material on top.
Place the 4mm ABS platform into the Mayku Multiplier.
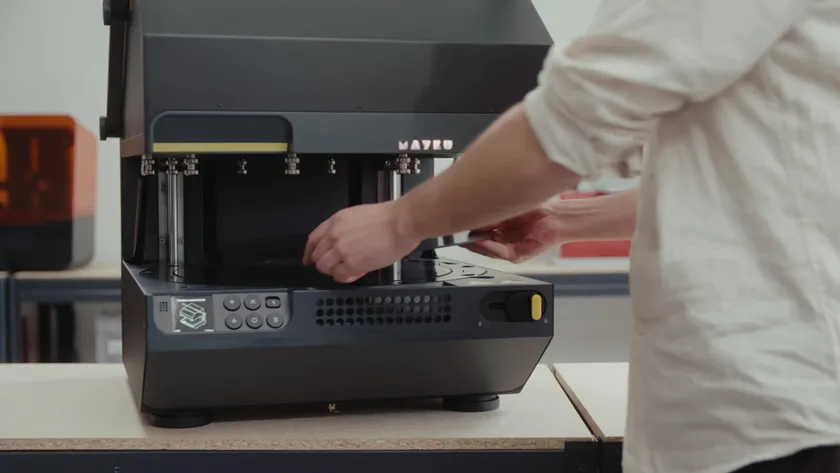
Close the lid and turn the top locking device to secure the material in place. Once the material is in place, you will hear the gas tank below the molding area compressing. The heating process will begin automatically, and the gas tank will compress simultaneously.
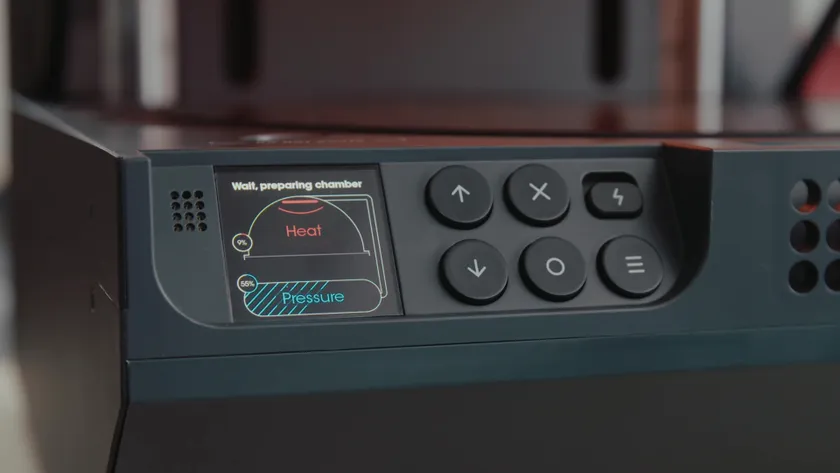
Mayku Multiplier is heating up
When the heating process is almost complete, place a template on the forming area. You can place multiple objects on the forming area at the same time, or just one large template.
Place the thermoforming template in the forming area of the Mayku Multiplier.
Mayku Multiplier is heating up
If your mold has complex design features, it may make demolding more difficult, and you may need to apply a release agent, such as dried polytetrafluoroethylene (PTFE).
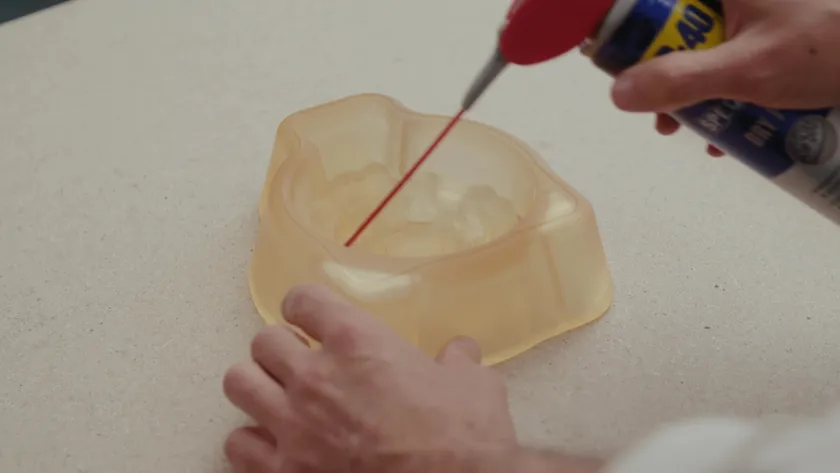
Apply a PTFE coating to the thermoforming template.
The multiplier will heat the material to the optimal temperature. When the indicator on the screen shows that the machine is ready, close the lid and slide the bottom locking device to prepare for molding.
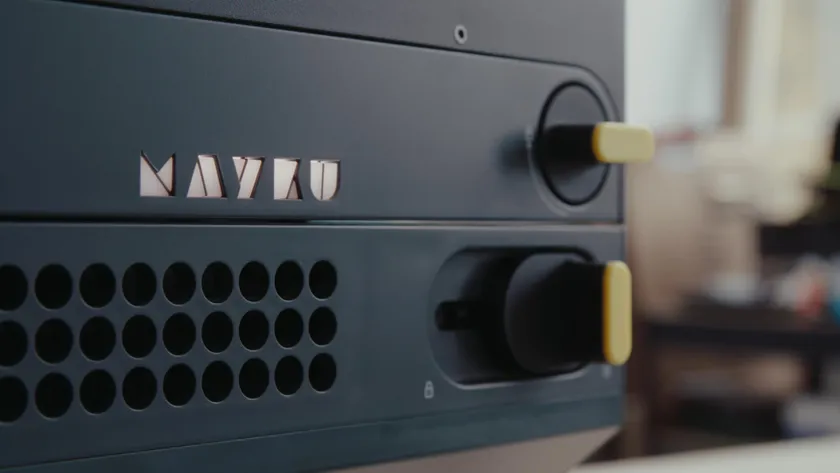
Mayku Multiplier Locking Device
Press the button to release five tons of pressure into the molding zone. You will hear the sound of pressure being released during the pressure release process. After the cooling process is complete, the air in the pressure chamber will be released. Now unlock and open the Multiplier.

Mayku Multiplier finished screen display
Step 5: Post-processing
Once the final part is obtained, excess material needs to be removed. Depending on the material used and its thickness, there are several methods available. For thinner and more flexible materials, hand cutting with scissors or a knife works well. For thicker or harder materials, as in our case, power tools such as a circular saw, drill, or rotary power tool are strongly recommended.
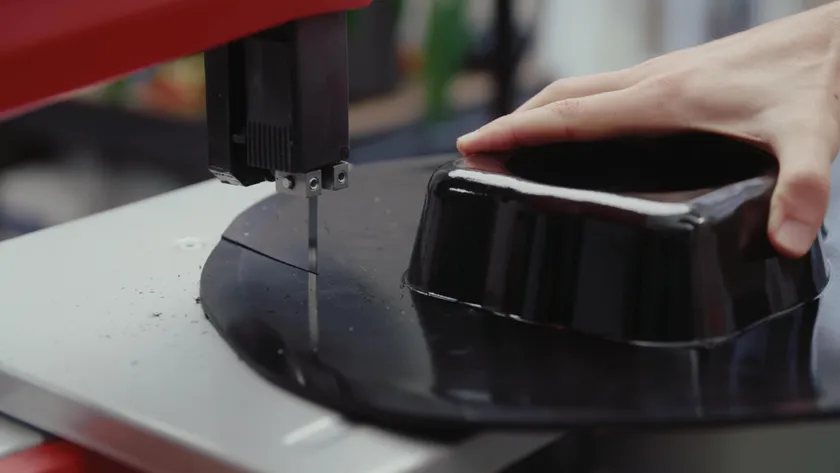
Use a circular saw for post-processing of the shaped parts.
In addition, if you are using Mayku Multiplier for small-batch production, you may consider making a fixture to allow for quick and accurate post-processing of parts.
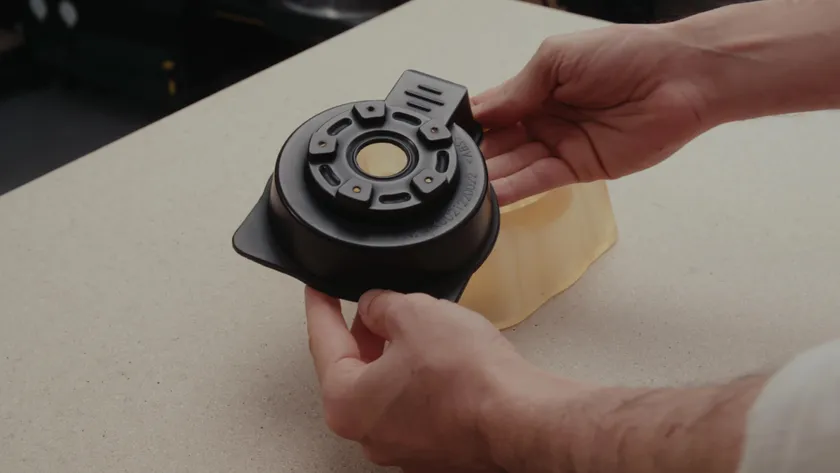
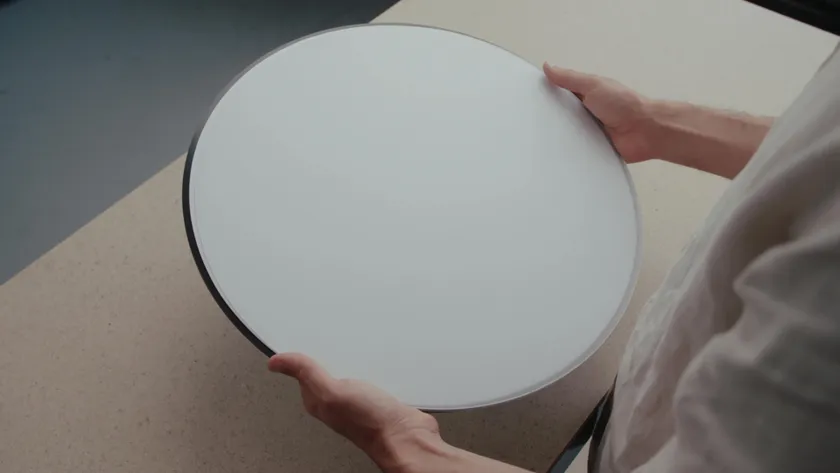
Inspecting car parts made with Mayku Multiplier
Using a pressure forming machine, you can create high-quality, highly precise parts in less time and have complete control over the entire process. It is ideal for producing precision prototypes, molds, or parts that can be used for final products.
This innovative machine makes the process of manufacturing high-quality parts simple and intuitive. Hopefully, this guide will give you an understanding of how to use the Mayku Multiplier and post-processing techniques.
About Mayku Multiplier
The Mayku Multiplier is an intuitively designed benchtop pressure molding machine that allows you to create precise prototypes, molds, and final parts with ultra-fine detail. It captures surface details up to one micrometer, including surface textures, layered surfaces, and other features. Measuring only 685 x 600 x 600 mm, it boasts a pressure molding capacity of up to four tons and a molding space of 400 mm x 160 mm. Its design and controls simplify operation and enable rapid production of finished products.
Learn more about Mayku products
Reference original text