


[3D Scanning Tutorial] REVOPOINT 3D Scanner: Automatic Metering, Fast and Precise!
A complete tutorial on the REVOPOINT POP 2 3D scanner , including software operation, real-world testing, a fixed tripod, a dedicated turntable, and a handheld mode for mobile phones. It eliminates the limitations of cable length, allowing for 3D scanning anytime, anywhere. Watch the unboxing tutorial now!
I. Unboxing Contents
2. Fix the tripod
3. Scanning turntable
4. Phone stand
5. Portable power bank
6. Scanned Example Model – David
7. Connect the wires

II. Tripod-Mounted 3D Scanning
Accessories included: tripod/scanner/turntable/computer software
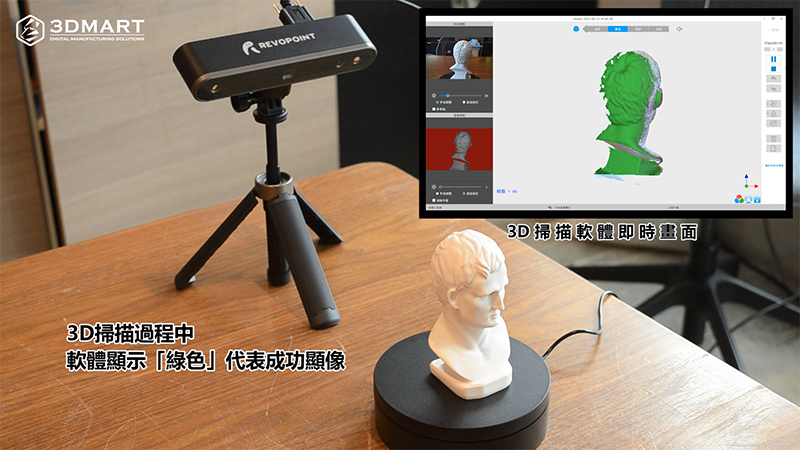
The scanner is fixed in place by a tripod and used with a turntable for 3D scanning . The system will automatically detect the object in real time before scanning begins and will suggest the best placement position.

1. Selecting the "Auto Metering" function allows for quick and accurate 3D scanning.
2. Selecting "New Scan" allows you to set scanning preferences based on accuracy and object type.
Scanning accuracy : Fast mode / High accuracy
Scanning modes : Feature stitching / Marker stitching / Dark black object / Face / Head and hair / Human body
Texture mapping : White model / Colored model

Set the countdown timer in seconds, and the scanning will begin after starting the scan. During the scan, the software will display "green" to indicate successful image development (David model size 5 x 5 x 9 cm). Once the scan is complete, click "End" to stop the scanning process.
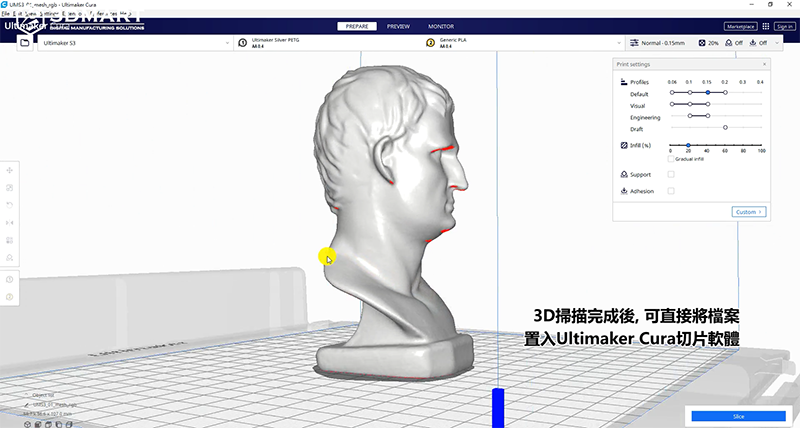
During the process, you can adjust the placement angle of the object as needed, and repeat the scanning process according to the steps above to capture more comprehensive details. After completion, select the structural parameters and check "Fill Holes"; the software will automatically fill holes in the model (total 3D scanning time: 5 minutes). Selecting the color preview allows you to switch the object's original color in real time. After the 3D scan is complete, you can directly import the file into Ultimaker Cura slicing software for 3D printing . (Alternative post-processing can be performed as needed.)
III. Handheld/Mobile Phone-Assisted 3D Scanning
Accessories included: Scanner/Power bank handle/Stand/Mobile phone software
Assemble a handheld 3D scanning grip
1. Assemble the phone holder onto the power bank handle.
2. Assemble the 3D scanner on top of the stand (or directly fix the scanner to the tripod).
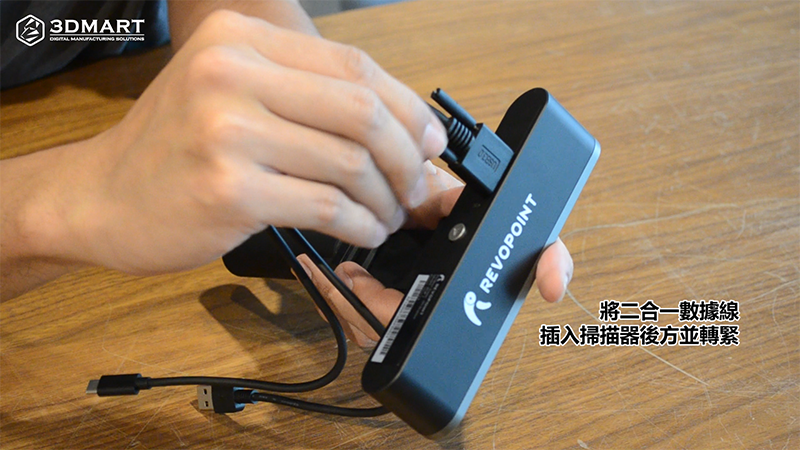
3. Insert the 2-in-1 data cable into the back of the scanner and tighten it.
4. Insert the USB connector into the input port (Output).
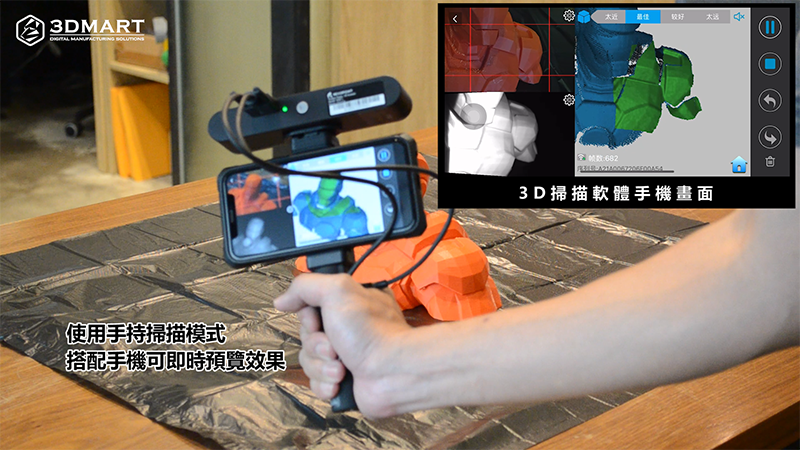
Using the handheld scanning mode, you can preview the results instantly with your phone. The power bank handle at the bottom allows you to directly connect to the 3D scanner and your phone, eliminating the limitations of cable length and enabling 3D scanning anytime, anywhere. (Total Iron Man scan time: 10 minutes)
Follow our fan page to stay up-to-date with the latest news: https://www.facebook.com/3dmart.com.tw/