


[ 3D Scanning Tutorial ] Shining3D EinStar Bundle Unboxing - Easily Modify Your Own GoPro Alternative Accessories!
Do you want to modify some models or scale up actual objects proportionally, but find 3D modeling difficult? Now you can save a lot of time and effort by directly reverse engineering to create your own custom parts.
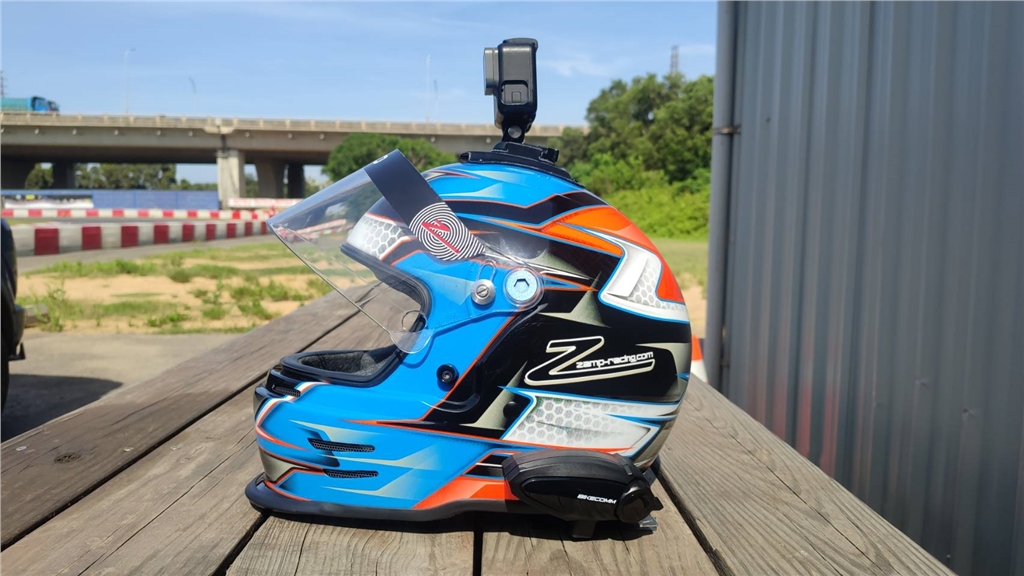
This time, I took the challenge of modifying the top accessory of a safety helmet to fit a GoPro mount, allowing the GoPro camera to be securely fixed to the helmet, and it only took me two days.
With the Shining EinStar 3D Full-Color Ultra-High-Speed Scanner bundled with the Snapmaker Artisan 3-in-1 3D Printer , even beginners can get started effortlessly!
I actually took it to a go-kart track for testing, and the finished product fits perfectly, just like the original! No more worries about insufficient adhesion of the GoPro mount.
( The finished product inspires a daring idea... could we take it on an extreme sport like skydiving?!)
( The finished product inspires a daring idea... could we take it on an extreme sport like skydiving?!)
See how it's done? The video below provides a complete, unreserved tutorial!
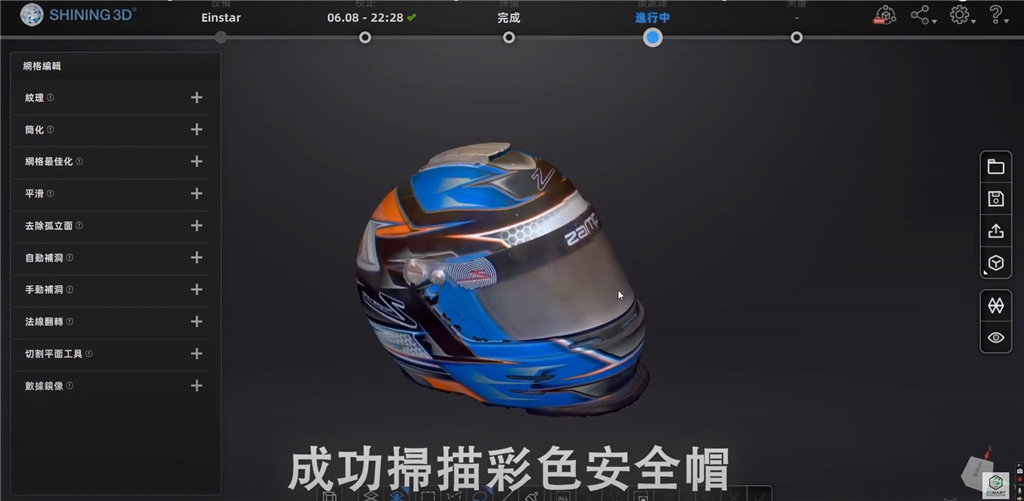
We used the Shining EinStar 3D full-color ultra-high-speed scanner to recreate the helmet's top accessories and GoPro base , and also scanned the high-saturation details of the entire helmet.
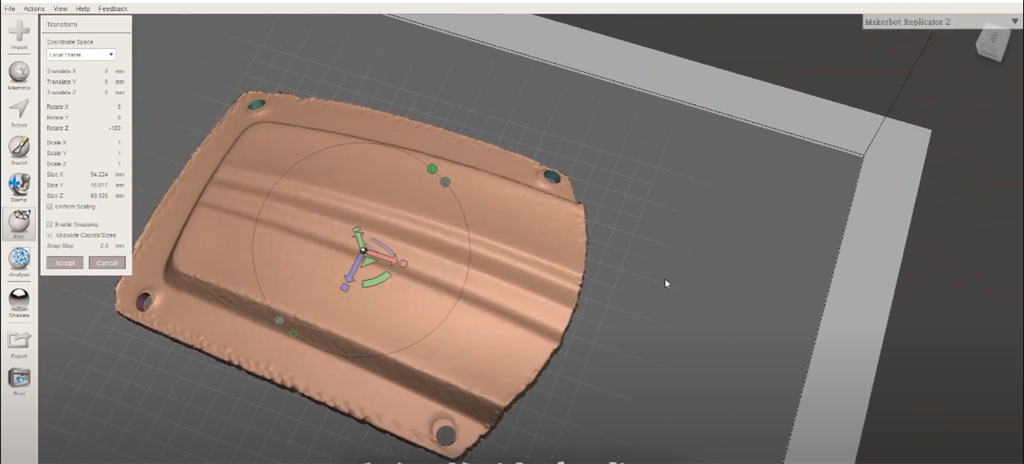
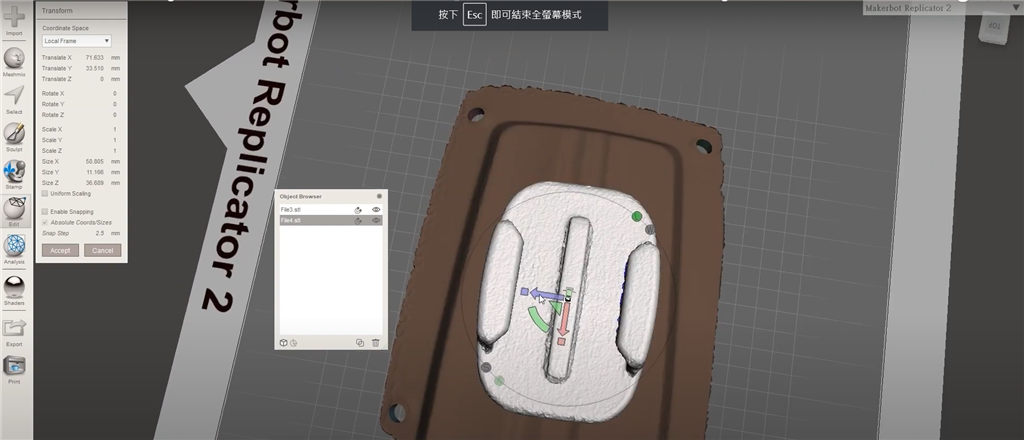
Then, Autodesk Meshmixer was used to combine the helmet top accessory with the GoPro base.
Finally, print out the finished 3D printout, and you're done!
I. Unboxing Contents

1. Anti-slip wristband
2. Scanner body
3. Data cable
4. Transformer 12V/5A
5. Power cord
6. Calibration plate
7. Marker Points
8. Quick Guide
9. Large rotating screen for scanning
2. Scanner body
3. Data cable
4. Transformer 12V/5A
5. Power cord
6. Calibration plate
7. Marker Points
8. Quick Guide
9. Large rotating screen for scanning
SanDima offers more than just 3D printing . Contact us today to learn more about the SHINING series 3D scanners .
Follow our fan page to stay up-to-date with the latest news: https://www.facebook.com/3dmart.com.tw/